This tutorial will explain how easy you implement ZAP Attack Proxy into Jenkins. Therefor we create a Freestyle job and will use the “Official OWASP ZAP Jenkins Plugin“. That you can follow and reproduce the tutorial, you need a running Jenkins instance with SSH access to it and proper system rights (OS, Jenkins).
Install ZAP Attack Proxy
Following steps needs to be done when SSH connection, to Jenkins, is established.
# download installer script
$ wget https://github.com/zaproxy/zaproxy/releases/download/v2.8.0/ZAP_2_8_0_unix.sh

# set chmod of script
$ chmod +x ZAP_2_8_0_unix.sh

# execute installer script
$ ./ZAP_2_8_0_unix.sh

# add environment variable (ZAPROXY_HOME)
$ echo "ZAPROXY_HOME=/usr/local/bin/" >> /etc/environment

# restart Jenkins
$ systemctl restart jenkins
Note: If you don’t restart Jenkins after creating “ZAPROXY_HOME”, you will run into trouble like “java.lang.IllegalArgumentException: ZAP INSTALLATION DIRECTORY IS MISSING, PROVIDED [ null ]”
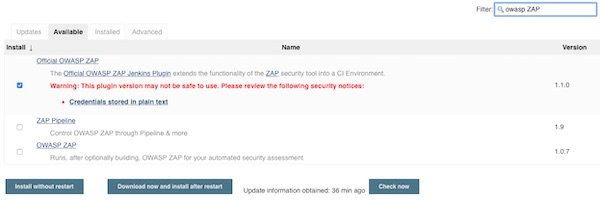
Install needed Jenkins PlugIn’s
Search for “OWAS ZAP” and for “HTML Publisher” plugins.

Configure Jenkins Freestyle job
All what we need is there, we can start to setup a Jenkins “Freestyle project” with the name “ZAPAttackProxy”.

The next setting is optional… I recommend to find your own value (I go with 5 for that example).
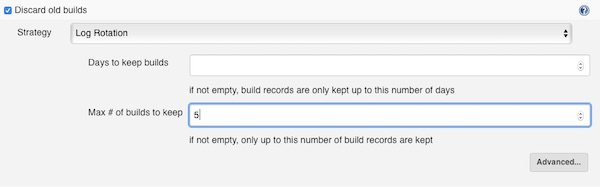
On every build (Jenkins job run) the workspace should be clean. Please enable the checkbox.

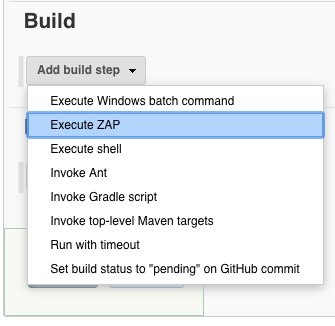
We add now the build step. This build step is available because of the PlugIn “Official OWASP ZAP“.
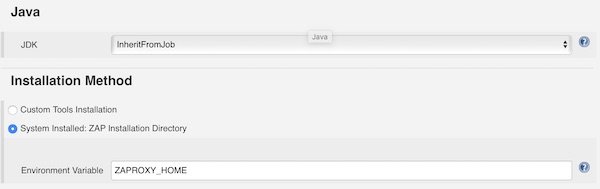
Now we have many fields to configure. We start to set the values for section “Admin Configurations”.
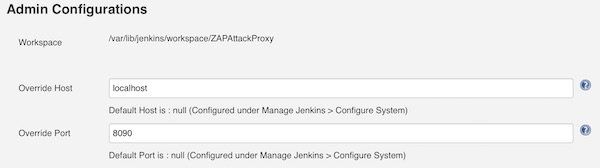
As we already installed ZAP and created the entry into /etc/environment, we can now use that variable.
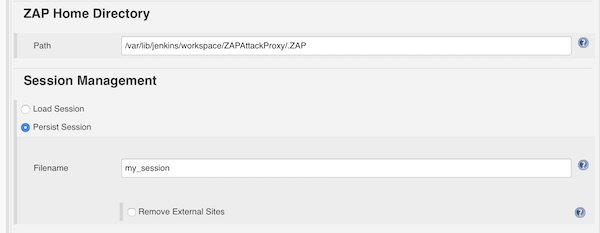
For ZAP Home Directory we add the path to the workspace and let the build create the directory “.ZAP”. For Session Management we choose “Persist Session” and give filename “my_session”.
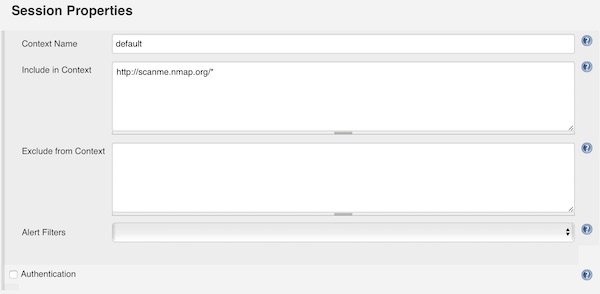
Under section “Session Properties” you add the Context Name “default” and for “Include in Context” you can add IP’s and/or Domains. For that example I choose “http://scanme.nmap.org/*”.
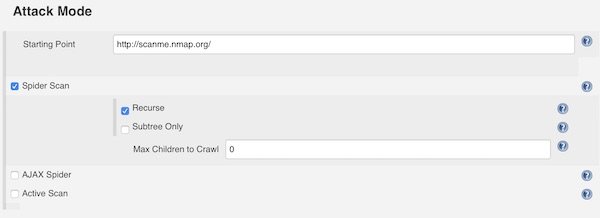
In section “Attack Method” you can choose different attack methods like Spider Scan and so on. Please set always a “Starting Point”. The settings here are self explainable.
Enable checkbox “Generate Reports” in section “Finalize Run”. Now enter a filename and select “XML” and “HTML” format.
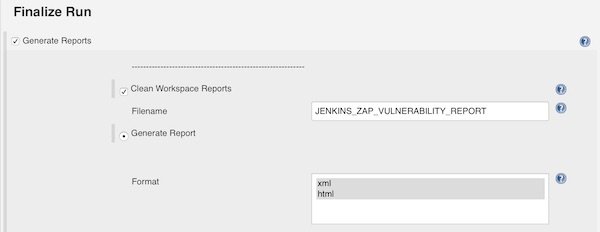
Note: You can ignore the HTTP 404 error.
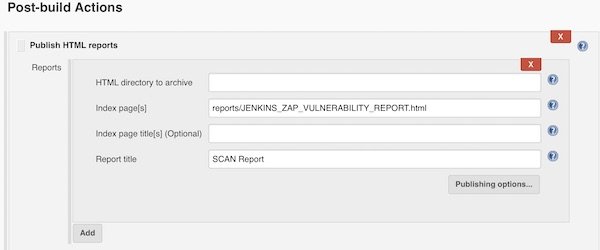
We are done! To provide on our job dashboard a link for HTML report, you can use now the HTML Publisher.
Execute the job and play with “Attack Methods”…
The post Running ZAP Attack Proxy on Jenkins appeared first on - Softwaretester -.


